This post has been sponsored by The Bake from Scratch in Partnership with Bob’s Red Mill. All thoughts and opinions are my own.
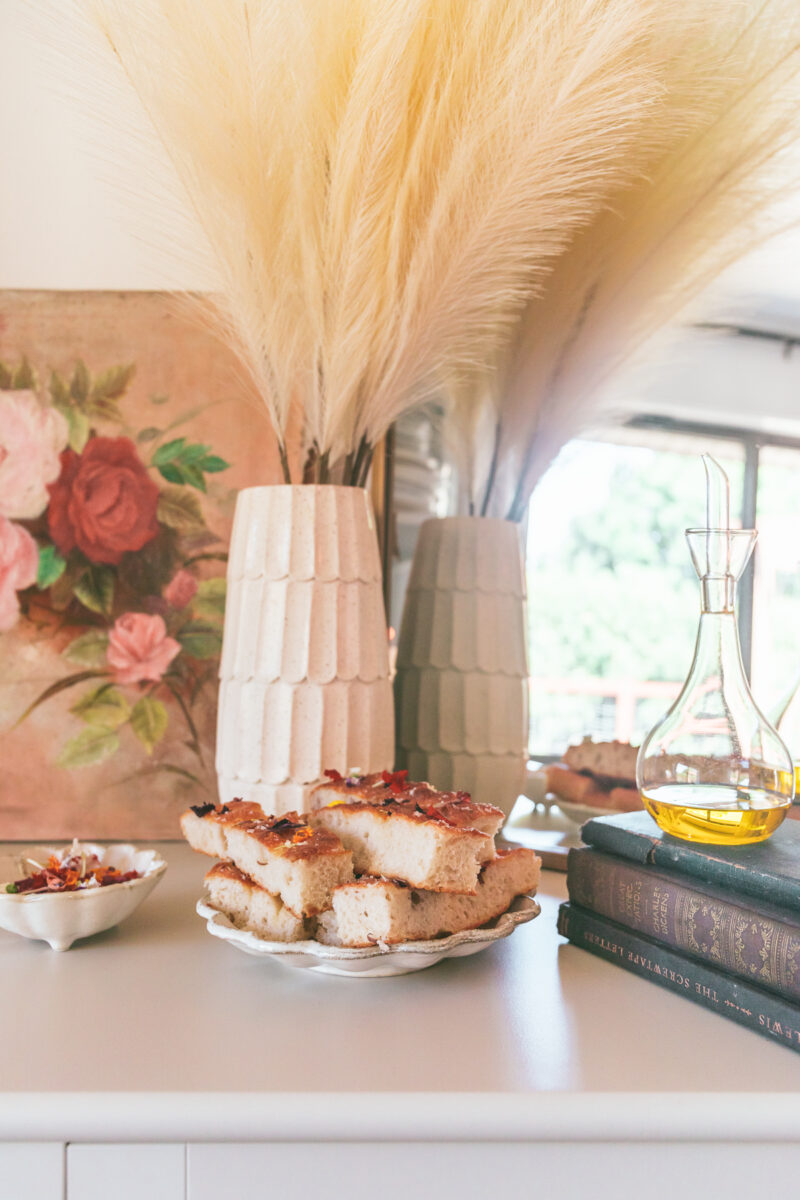
I don’t know if it’s the summer months or the fact that I’ve been collecting flowers for my new yard every chance I get, but I’m in a romantic kind of mood. I want to clutter my lawn with old French statues, water heirloom roses and feel like I’m stuck in the middle of nowhere. It’s been bringing me all the happiness in the world to just sit in my back yard and watch all the life wrestle in the evening air.
I’ve always been obsessed with florals, honestly. It’s in my name – Karlee Flowers. I love having a pitcher full of them on my bed side, I collect floral printed linen and decorate cakes with their colorful peddles. So, I had to show you how to properly get a flower pressed look using Bake from Scratch Better Baking Academies Summer Focaccia.
And, that first step is to use a quality consistent flour like Bob’s Red Mill all-purpose flour. Focaccia is made from a high moisture dough and some flours can be inconsistent with the amount of hydration in their flours which can mess with the overall outcome of your focaccia. With Bob’s – it’s right every time.
Let’s first talk about a high moisture dough. There are two things that develop gluten in our doughs – kneading and moisture. Gluten makes things nice and stretchy and chewy – but if it’s over worked or too hydrated – It can be tough. Same goes for cakes, if it’s too chewy and has a strong crumb, it’s because of there’s too much moisture in the batter.
Because we’re working with a beautifully glossy focaccia dough, we’re going to only gently fold it as it proofs. Making sure to not overly work the dough. We’re going to let the moisture do the work for us. Which makes a lovely crispy, salty pillow-like focaccia in the end.

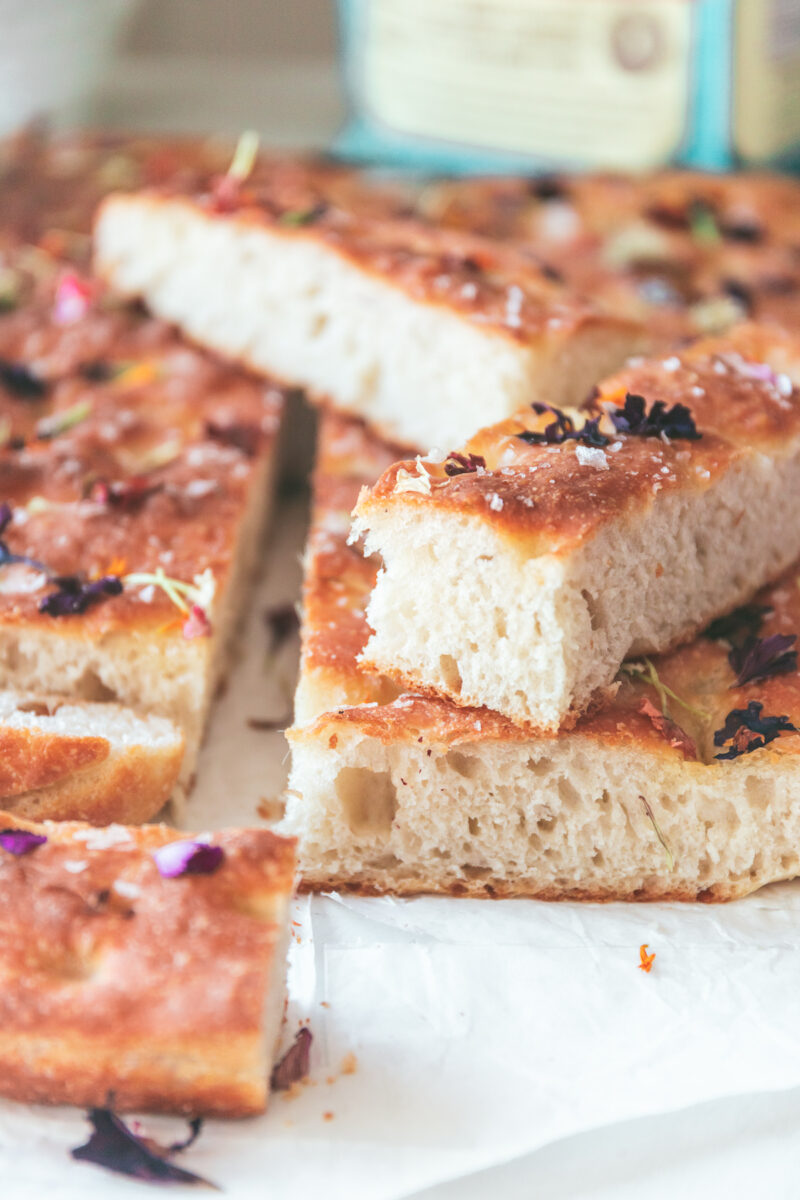
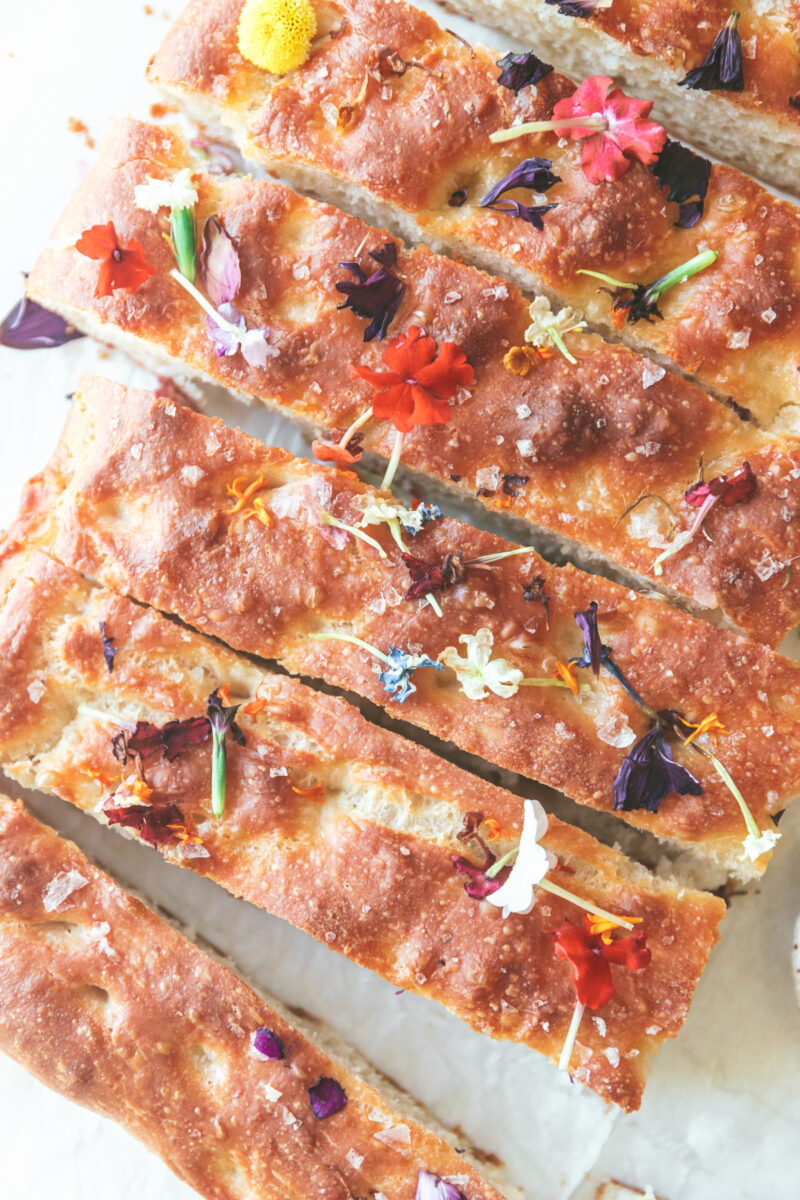
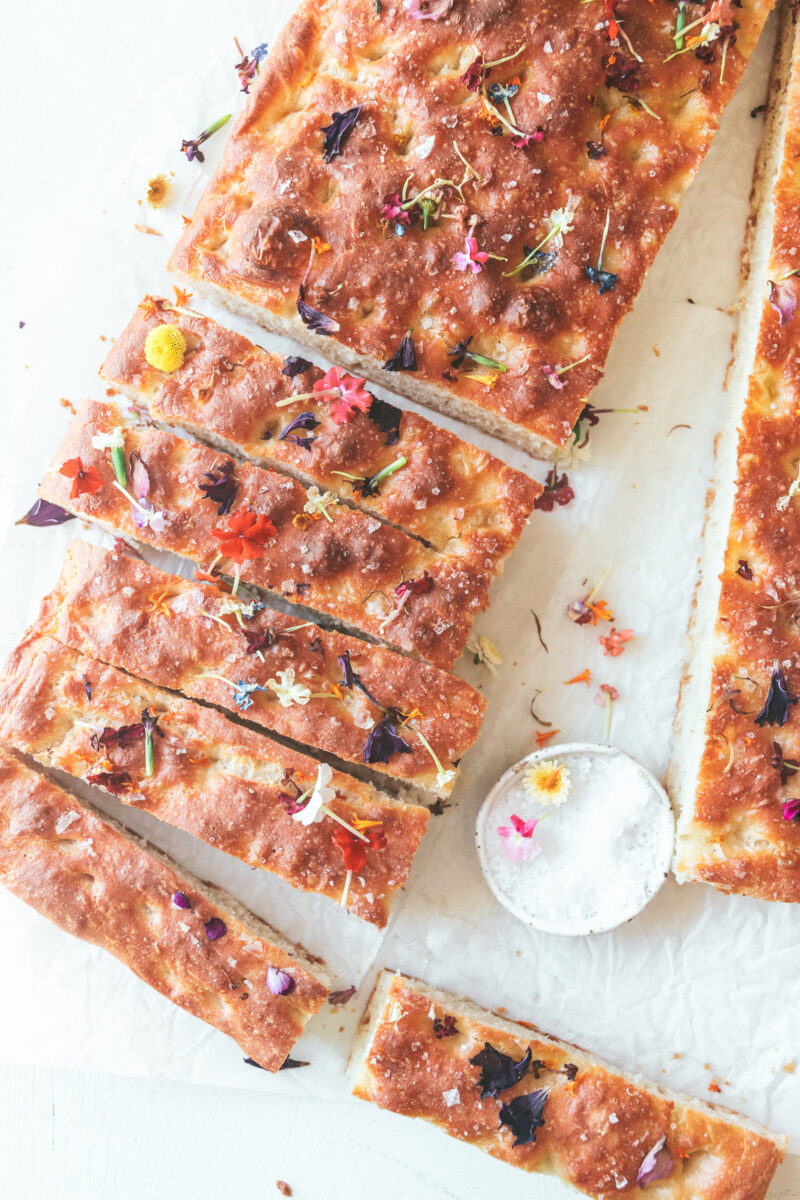
For a beautiful flower pressed look – we’re actually going to wait for the focaccia to bake before putting any edible flowers on. This helps retain the color of the peddles. The residual heat and steam from the cooling focaccia helps settle the flowers and the sit right back down onto the top of the dough. If you have any issues with flowers not staying, you can always pop it back in the (still warm but cooling) oven for a few seconds to help.
The result is a beautifully romantic looking focaccia. Like you just opened up a book from a garage sale to find old flowers pressed into the pages. It’s my summer mood for sure, lot’s of old things, growing new things, and making all the focaccia a girl can handle.
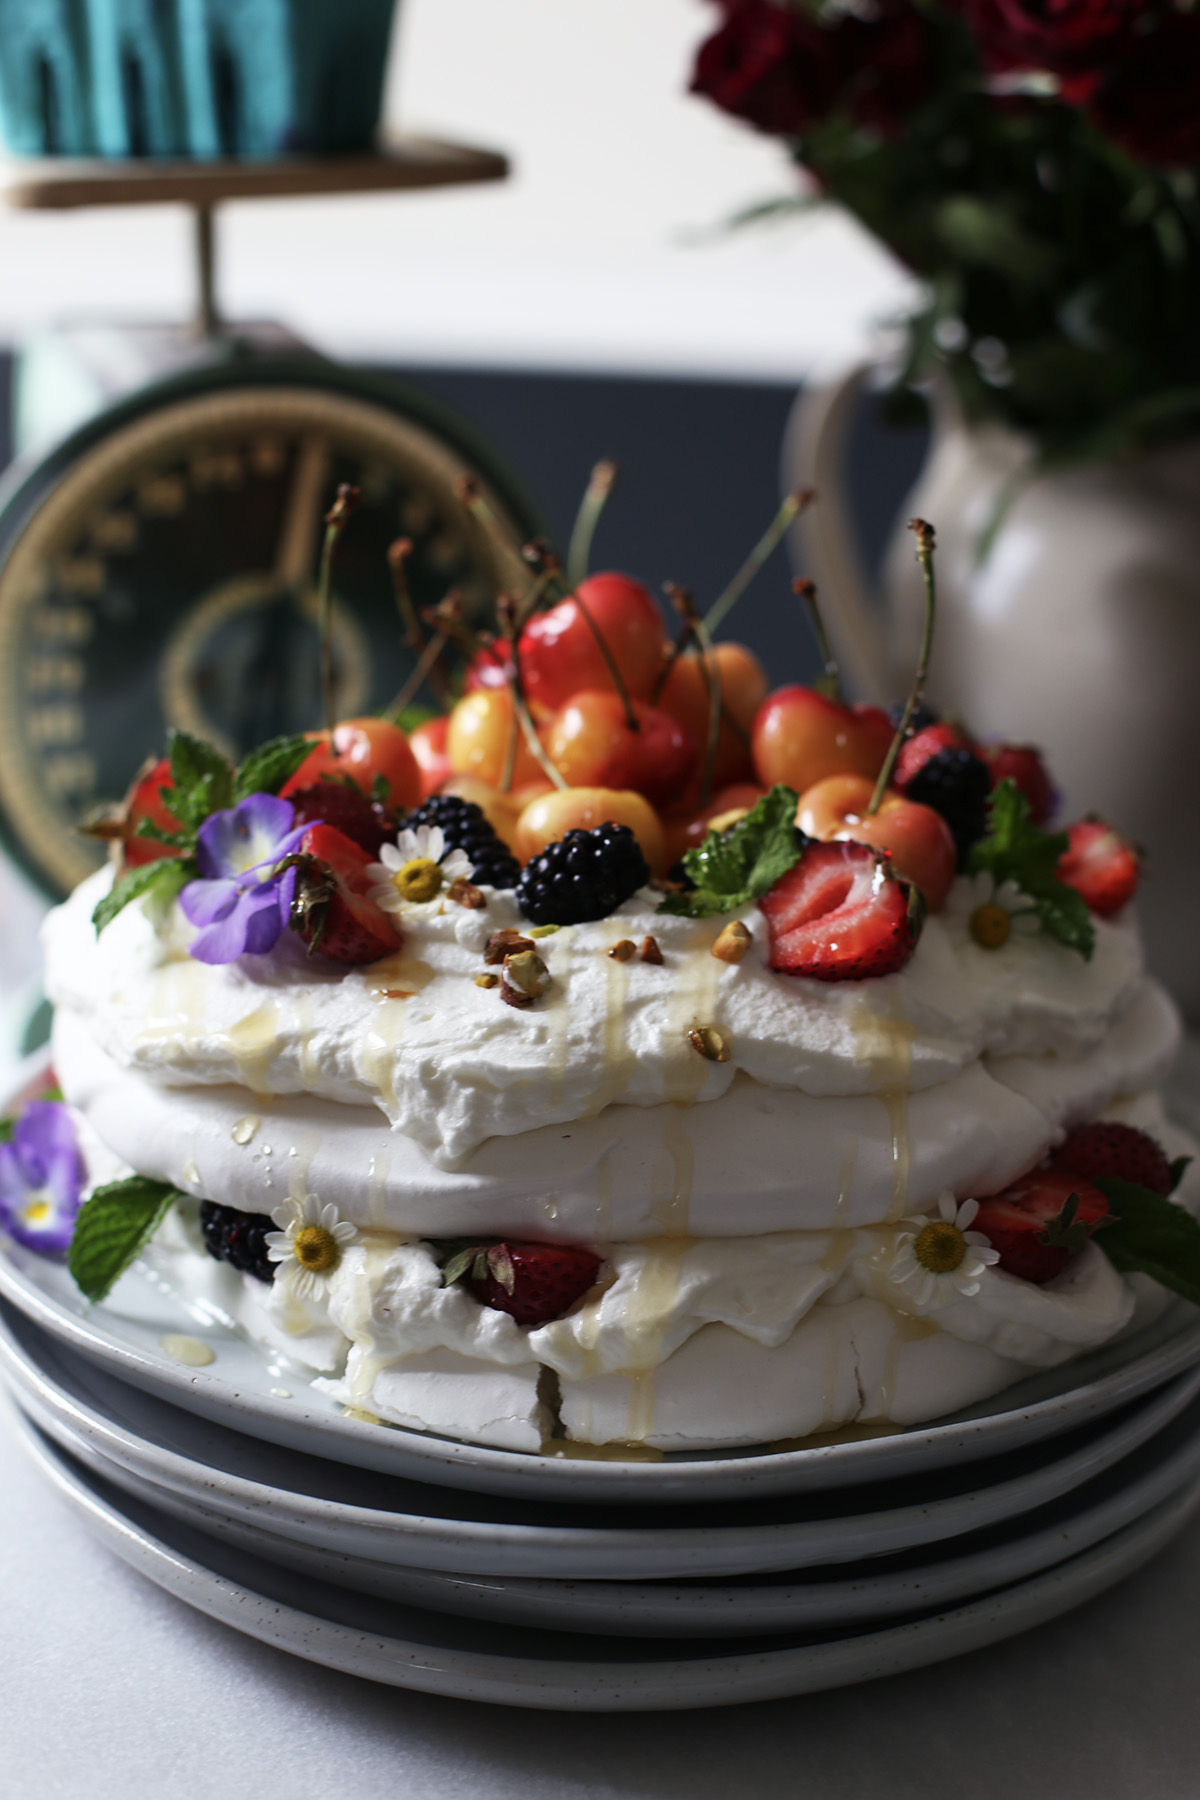
Missed the first installment? Check out these Chocolate Zinger-inspired Mini Cakes and Blackberry and Goat Cheese Mini cakes here.


Flower Pressed Summer Focaccia

- Prep Time: 2 hours 45 minutes
- Cook Time: 25 minutes
- Total Time: 3 hours 10 minutes
- Yield: Makes 1 (17¼x12¼-inch) loaf 1x
Ingredients
2⅓ cups (560 grams) water, room temperature (70°F/21°C to 75°F/24°C)
7 tablespoons (98 grams) extra-virgin olive oil, divided
6 cups (762 grams) Bob’s Red Mill Artisan Bread Flour
5 teaspoons (15 grams) kosher salt
2¼ teaspoons (7 grams) instant yeast
2 teaspoons (4 grams) flaked sea salt
1 cup (4 grams) edible flowers*
Instructions
1. In the bowl of a stand mixer fitted with the paddle attachment, add 2⅓ cups (560 grams) room temperature water and 3 tablespoons (42 grams) oil. Add flour, kosher salt, and yeast. Beat at low speed for 4 minutes. Scrape sides of bowl and paddle. Increase mixer speed to medium-low, and beat until dough pulls away from sides of bowl and forms a smooth ball on paddle, 2 to 3 minutes.
2. Oil a large bowl. Place dough in bowl. Cover and let rise in a warm, draft-free place (75°F/24°C) for 1½ hours, folding dough in bowl every 30 minutes. (To fold, use wet or oiled hands to reach under one side of dough; gently stretch up, and fold over center. Repeat 3 more times around bowl.)
3. Line bottom of a rimmed 17¼x12¼-inch baking sheet with parchment paper. Brush with 2 tablespoons (28 grams) oil.
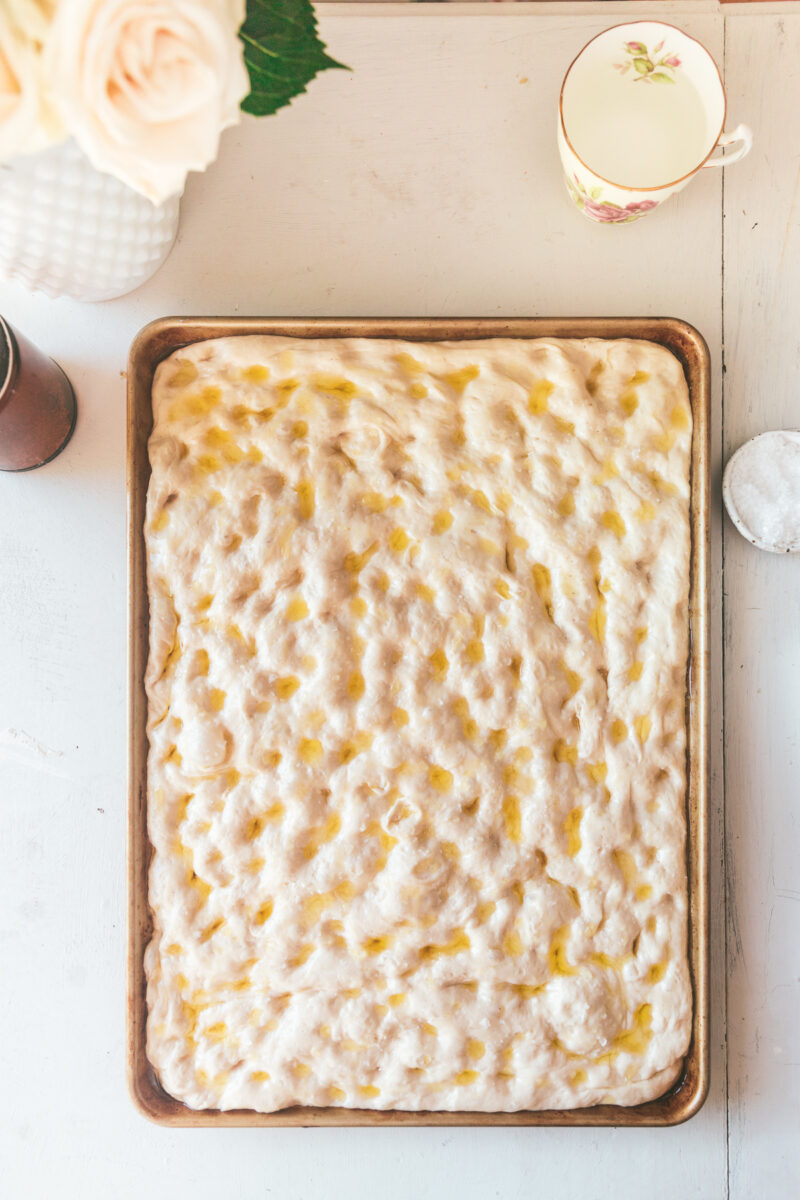
4. Turn out dough onto prepared pan, and using just your fingertips, gently stretch dough to completely fill pan. (If dough is tight and will not stretch completely, let stand for 5 to 10 minutes and then try again.) Cover and let rise in a warm, draft-free place (75°F/24°C) for 30 minutes.
5. Preheat oven to 450°F (230°C).
6. Uncover dough, and dimple using your fingertips, touching pan without tearing dough. Cover and let rise in a warm, draft-free place (75°F/24°C) until dough is level with sides of pan, about 30 minutes.
7. Drizzle dough with remaining 2 tablespoons (28 grams) oil. Top with desired produce, and sprinkle with flaked sea salt.
8. Bake for 15 minutes. Reduce oven temperature to 425°F (220°C), and bake until deep golden brown and an instant-read thermometer inserted in center registers 205°F (96°C), about 10 minutes more.
9. Immediately toss with edible flowers letting the residual heat from the focaccia sweat the peddles and adhere to the bread. The Flowers will be loose but shouldn’t fall off too easily. You can place the focaccia back in the cooling but still warm oven to help the flowers set for no longer than 10 seconds. Too much heat will drain the color from your edible flowers.
10. Let cool on pan for 10 minutes. Remove from pan. Serve warm, or let cool completely on a wire rack.
11. This focaccia would pair well with a chamomile infused butter or a rosemary infused olive oil.
Notes
*Edible flowers can be purchased at your local grocery store. If they don’t carry them on the shelf, produce can special order them for you. Or, you could buy online through specialty flower markets and they typically ship next day. Some of the most popular edible flowers that might be in your yard are chamomile, lilacs, hibiscus, lavender, pansies, roses, daisies, mums and the list goes on. Be careful to make sure you’re using flowers that are edible by verifying online.